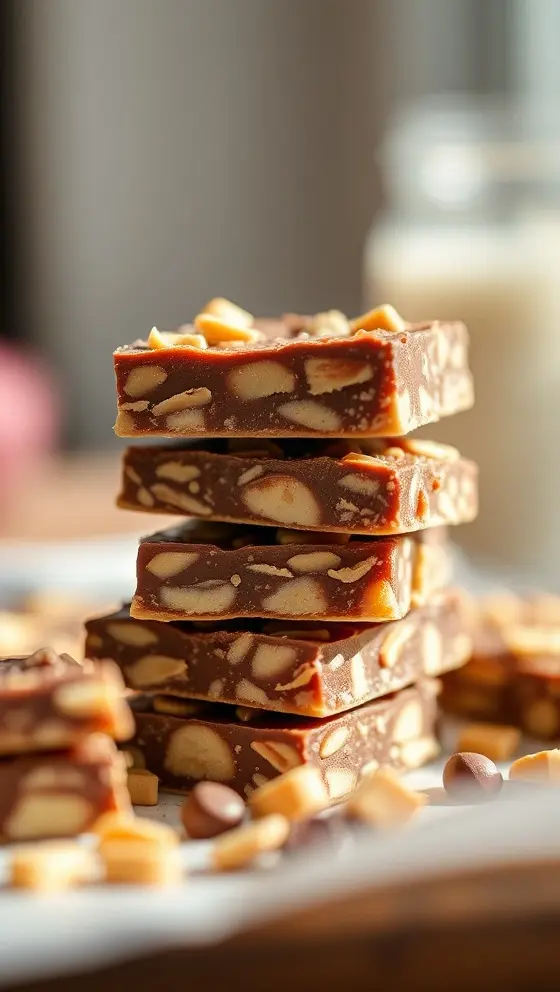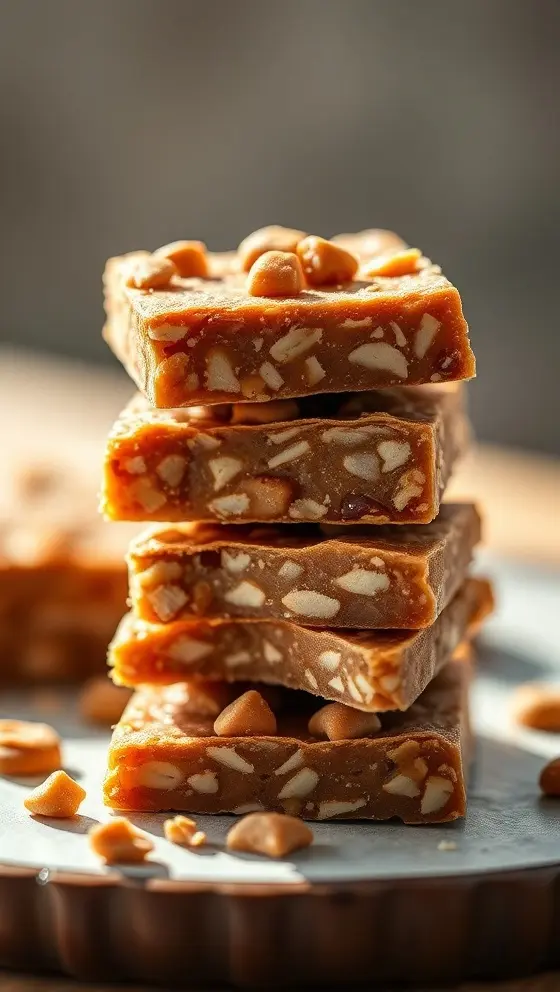

Fudge-Filled Chocolate Thumbprints
Introduction
When it comes to delightful desserts that can elevate any occasion, Fudge-Filled Chocolate Thumbprints stand out as a crowd favorite. These delectable treats combine the rich flavor of chocolate with a gooey fudge core that simply melts in your mouth. Whether you’re baking for a holiday gathering, a birthday party, or just to indulge yourself, these cookies are sure to impress. In this blog post, we’ll guide you through the process of creating these irresistible cookies, ensuring that you can replicate this delightful recipe in your own kitchen. So get ready to whip up some Fudge-Filled Chocolate Thumbprints and treat yourself to an unforgettable experience!
Ingredients List
To create your own batch of Fudge-Filled Chocolate Thumbprints, you’ll need simple ingredients that are likely already in your pantry. Here’s a list of what to gather:
– 1 cup all-purpose flour
– 1/2 cup unsweetened cocoa powder
– 1/2 teaspoon baking powder
– 1/4 teaspoon salt
– 1/2 cup unsalted butter, softened
– 1/2 cup granulated sugar
– 1/2 cup brown sugar, packed
– 1 large egg
– 1 teaspoon vanilla extract
– 1/2 cup fudge sauce (store-bought or homemade)
– Optional: powdered sugar for dusting or chocolate chips for garnish
With these ingredients at your disposal, you’re well on your way to whipping up a batch of these wonderful cookies!
Timing
Before you dive into the recipe, let’s talk about timing. Preparing Fudge-Filled Chocolate Thumbprints is a relatively quick process. You should set aside approximately:
– Preparation Time: 15 minutes
– Cook Time: 10-12 minutes
– Cooling Time: 10 minutes
– Total Time: About 35-37 minutes
With just over half an hour, you’ll have freshly baked cookies ready to enjoy. Let’s now get into the nitty-gritty of making these sweet delights.
Step-by-Step Instructions
Follow these straightforward steps to create your delicious Fudge-Filled Chocolate Thumbprints. Each step is crafted to ensure the best flavor and consistency:
1. Preheat your oven: Begin by preheating your oven to 350°F (175°C) and lining a baking sheet with parchment paper.
2. Mix the dry ingredients: In a medium bowl, whisk together the flour, cocoa powder, baking powder, and salt. This ensures even distribution of the dry ingredients.
3. Cream the butter and sugars: In a separate large bowl, beat together the softened butter, granulated sugar, and brown sugar until it becomes light and fluffy. This should take about 3-4 minutes using an electric mixer.
4. Add the egg and vanilla: Ensure your batter has an even texture by mixing in the egg and vanilla extract until well combined.
5. Combine wet and dry ingredients: Gradually add the dry mixture to the butter mixture, stirring until just incorporated. Be careful not to overmix as this can affect the texture of your cookies.
6. Shape the cookies: Scoop approximately one tablespoon of dough and roll it into a ball. Place the balls on the prepared baking sheet, spacing them about two inches apart. Use your thumb to make an indentation in the center of each ball.
7. Fill with fudge: Spoon about 1/2 teaspoon of fudge sauce into each indentation. This fudge center will give your thumbprints their signature ooey-gooey texture.
8. Bake: Place the baking sheet in the preheated oven and bake for 10-12 minutes. The cookies should appear set but soft — they’ll harden slightly as they cool.
9. Cool down: Allow the cookies to cool on the baking sheet for about 5 minutes before transferring them to a wire rack to cool completely.
Once you’ve followed these steps exactly, you’ll have a batch of fantastic Fudge-Filled Chocolate Thumbprints ready to delight your taste buds.
Nutritional Information
For those keeping an eye on nutritional values, here’s what you can expect per cookie (based on a batch of 24 cookies):
– Calories: 120
– Total Fat: 6g
– Saturated Fat: 3.5g
– Cholesterol: 20mg
– Sodium: 50mg
– Total Carbohydrates: 16g
– Dietary Fiber: 1g
– Sugars: 8g
– Protein: 1g
This makes Fudge-Filled Chocolate Thumbprints a delicious sweet treat that can be enjoyed in moderation!
Tips
To ensure your Fudge-Filled Chocolate Thumbprints turn out perfectly, keep these tips in mind:
– Chill the dough: If you find the dough too sticky, refrigerate it for about 30 minutes to make shaping easier.
– Use high-quality chocolate: The taste of the fudge is crucial, so opt for high-quality chocolate or fudge sauce for the best flavor.
– Experiment with fillings: While fudge is classic, consider filling with caramel or jam for a creative twist on this traditional recipe.
Alternative Methods
If you want to try something different, here are a couple of alternative ideas:
1. Gluten-Free Version: Substitute all-purpose flour with a 1:1 gluten-free flour blend. Ensure the cocoa powder is also gluten-free.
2. Vegan Twist: Use dairy-free butter and aquafaba (the liquid from canned chickpeas) instead of the egg. Replace the fudge with a vegan chocolate sauce.
Common Mistakes to Avoid
To get the most out of your baking experience, avoid these common mistakes:
– Overbaking: Keep a close eye on your cookies as they bake. Overbaking can lead to dry cookies instead of the gooey center we desire.
– Skipping the indentation: Forgetting to create an indentation before baking will result in less room for the fudge filling, making it spill over.
– Not allowing cooling time: Give your cookies time to cool; this will help set the fudge filling and create a better texture.
Conclusion
Fudge-Filled Chocolate Thumbprints are not just cookies; they are a sweet hug in every bite. By following this comprehensive guide, you’ll be able to bake your own version of these sumptuous delights. Whether for a special occasion or simply to satisfy your sweet tooth, these cookies will surely make an impression. We hope you enjoy making and sharing these wonderful treats! Feel free to return to our website for more delicious recipes to add to your baking repertoire.
FAQs
Q: Can I make the dough ahead of time?
A: Yes, you can prepare the dough in advance and refrigerate it for up to 3 days. Roll and fill with fudge just before baking.
Q: How do I store leftover cookies?
A: Keep them in an airtight container at room temperature for up to a week. However, they’re best enjoyed fresh!
Q: Can I freeze these cookies?
A: Absolutely! You can freeze the cookies after baking. Just make sure they are completely cooled, then store them in a freezer-safe container for up to 3 months.
Now that you are equipped with an amazing recipe, what’s stopping you? Grab your ingredients and get baking today!
Fudge-Filled Chocolate Thumbprints

Ingredients
-
{% for item in ingredients %}
{% endfor %}
Instructions
-
{% for step in instructions %}
{% endfor %}
Nutrition Information
- Calories: kcal
- Protein: