
Cocoa Jam Thumbprint Cookies
Introduction
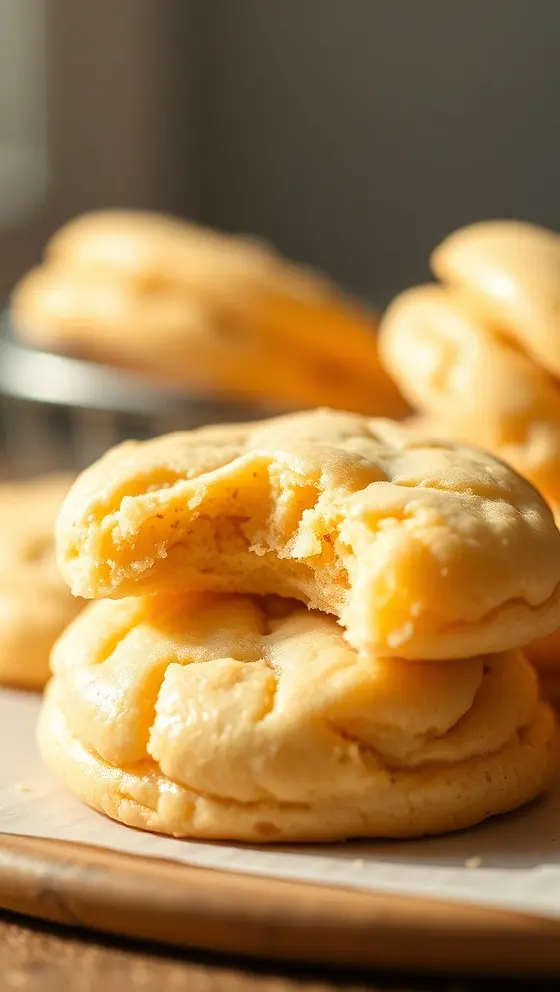
Cocoa Jam Thumbprint Cookies are a delightful twist on traditional thumbprint cookies, combining rich cocoa flavor with a sweet jam filling. These treats evoke nostalgia while offering a modern take on a classic dessert. Perfect for cookie exchanges, birthday parties, or even just as a sweet afternoon pick-me-up, these cookies are not only delicious but also visually appealing. If you’re looking to impress your friends or family with your baking skills, dive into the simple yet satisfying process of creating Cocoa Jam Thumbprint Cookies.
Ingredients List
To create your Cocoa Jam Thumbprint Cookies, gather these essential ingredients:
– 1 cup unsalted butter, softened
– 1 cup granulated sugar
– 2 large eggs
– 1 teaspoon vanilla extract
– 2 cups all-purpose flour
– 1/2 cup cocoa powder
– 1/2 teaspoon salt
– 1/2 teaspoon baking powder
– 1 cup jam (your choice of flavor, such as raspberry, strawberry, or apricot)
These ingredients create the perfect blend of textures and flavors, ensuring each bite is rich and satisfying.
Timing
Before you begin, it’s essential to know the timing for this recipe:
– Preparation Time: 20 minutes
– Chilling Time (optional): 30 minutes
– Baking Time: 12-15 minutes
– Total Time: Approximately 1 hour, including cooling.
This makes Cocoa Jam Thumbprint Cookies a quick treat to whip up, whether you are baking for an occasion or enjoying a quiet evening at home.
Step-by-Step Instructions
1. Preheat the Oven: Start by preheating your oven to 350°F (175°C), ensuring a properly heated environment for a perfect bake.
2. Cream the Butter and Sugar: In a large mixing bowl, cream together the softened butter and granulated sugar until light and fluffy. This process is crucial as it incorporates air into the mixture, which helps with the cookie’s texture.
3. Add the Eggs and Vanilla: Beat in the eggs one at a time, followed by the vanilla extract. Mix until well combined.
4. Combine Dry Ingredients: In a separate bowl, whisk together the all-purpose flour, cocoa powder, salt, and baking powder. This step ensures that the dry ingredients are evenly distributed.
5. Mix Dry and Wet Ingredients: Gradually add the dry mixture to the wet mixture, mixing just until combined. Be careful not to overwork the dough.
6. Chill the Dough (Optional): For easier handling, you can chill the dough for about 30 minutes in the refrigerator. This will help prevent the cookies from spreading too much while baking.
7. Shape the Cookies: Use a tablespoon or cookie scoop to portion out rounds of the dough. Roll them into balls and place them on a lined baking sheet, spacing them about 2 inches apart.
8. Create Thumbprint Indentations: Using your thumb or the back of a measuring spoon, gently press down in the center of each cookie ball to create an indentation. This is what makes them “thumbprint” cookies!
9. Fill with Jam: Carefully spoon a bit of jam into each indentation. Don’t overfill as the jam can bubble over while they bake.
10. Bake: Place the baking sheet in the oven and bake for 12-15 minutes, or until the edges are slightly firm but the centers still look soft.
11. Cool: Once done, remove the cookies from the oven and let them cool on the baking sheet for about 5 minutes before transferring them to a wire rack to cool completely.
Once you master this step-by-step guide, you’ll see how simple and enjoyable it is to make Cocoa Jam Thumbprint Cookies.
Nutritional Information
Here’s a general breakdown of the nutritional values per cookie (assuming the recipe makes about 24 cookies):
– Calories: 120
– Total Fat: 6g
– Saturated Fat: 4g
– Cholesterol: 25mg
– Sodium: 50mg
– Total Carbohydrates: 16g
– Dietary Fiber: 1g
– Sugars: 6g
– Protein: 2g
This delicious treat can fit into a balanced diet if enjoyed in moderation.
Tips
To ensure your Cocoa Jam Thumbprint Cookies turn out perfectly, consider the following tips:
– Use high-quality cocoa powder for richer flavor.
– Experiment with different jam flavors to create a variety of cookies for different events.
– If you find the dough too sticky, dust your hands with flour while rolling into balls.
– Try adding nuts or chocolate chips into the dough for an extra crunch or variety.
– Keep an eye on the cookies towards the end of the baking time, as every oven can vary.
Alternative Methods
If you’d like to adapt the Cocoa Jam Thumbprint Cookies for different dietary needs or just for fun, here are some suggestions:
– Gluten-Free Version: Substitute all-purpose flour with a gluten-free flour mix.
– Sugar-Free Option: For those monitoring sugar intake, you can use a sugar substitute like erythritol or stevia.
– Vegan Twist: Use vegan butter and flax eggs (1 tablespoon ground flaxseed mixed with 3 tablespoons of water to replace each egg).
These alternative methods ensure that everyone can enjoy Cocoa Jam Thumbprint Cookies regardless of dietary restrictions.
Common Mistakes to Avoid
To make your cookie-baking experience as smooth as possible, here are some mistakes to steer clear of:
– Overmixing the Dough: This can lead to tough cookies, so mix only until combined.
– Using Cold Ingredients: Ensure your butter is at room temperature for the best texture.
– Not Preheating the Oven: Baking in a cold oven can lead to uneven cookies.
– Skipping the Cooling Stage: Allowing cookies to cool properly helps them set and develop flavors.
Avoiding these pitfalls will help you achieve the best version of Cocoa Jam Thumbprint Cookies.
Conclusion
Now that you have all the essential information to create Cocoa Jam Thumbprint Cookies, it’s time to get into the kitchen and start baking! These cookies aren’t just sweet treats; they offer a unique blend of textures and flavors that will leave a lasting impression. With simple steps and easy ingredients, anyone can master this delightful recipe. Whether for a festive gathering or a cozy evening at home, Cocoa Jam Thumbprint Cookies are sure to please.
FAQs
1. Can I use different types of jam for the filling?
Absolutely! Feel free to experiment with different flavors such as blueberry, peach, or even chocolate spread. The possibilities are endless!
2. How should I store the cookies?
Store them in an airtight container at room temperature for up to a week, or refrigerate them for longer freshness.
3. Can I freeze the cookie dough?
Yes! You can freeze the dough before baking. Just portion it out, wrap it well, and store it in the freezer for up to three months. When ready to bake, let it thaw in the fridge overnight.
4. What can I serve with these cookies?
Cocoa Jam Thumbprint Cookies pair spectacularly with a cup of tea, coffee, or even a tall glass of milk.
5. Can I double the recipe?
Definitely! Just make sure to use a large enough mixing bowl to combine the ingredients thoroughly.
Baking not only fulfills the tummy but also brings joy and creativity into your kitchen. So, give this recipe a try, and don’t forget to return to check out more delightful recipes on my website. Happy baking!
Cocoa Jam Thumbprint Cookies

Ingredients
- 1 cup unsalted butter, softened
- 1 cup granulated sugar
- 2 cups all-purpose flour
- 1/2 cup cocoa powder
- 1/4 teaspoon salt
- 1/2 cup fruit jam (your choice)
- 1 teaspoon vanilla extract
Instructions
- Preheat the oven to 350°F (175°C).
- In a bowl, cream together the butter and sugar until light and fluffy.
- Mix in the vanilla extract.
- In another bowl, whisk together the flour, cocoa powder, and salt.
- Gradually add the dry ingredients to the butter mixture, mixing until combined.
- Roll the dough into 1-inch balls and place them on a baking sheet.
- Make an indentation in the center of each ball and fill with jam.
- Bake for 12-15 minutes or until set. Allow to cool before serving.
Nutrition Information
- Calories: 120 kcal
- Protein: 1.5 g